In the vast and vibrant world of photography, where a single snapshot can tell an entire story, the allure of professional gear often captivates aspiring photographers. However, when high price tags make your heart skip a beat for all the wrong reasons, it’s time to consider a more creative, budget-friendly approach. Welcome to the exciting realm of DIY photography equipment—a place where innovation meets thriftiness, and your unique flair shines through every captured moment.
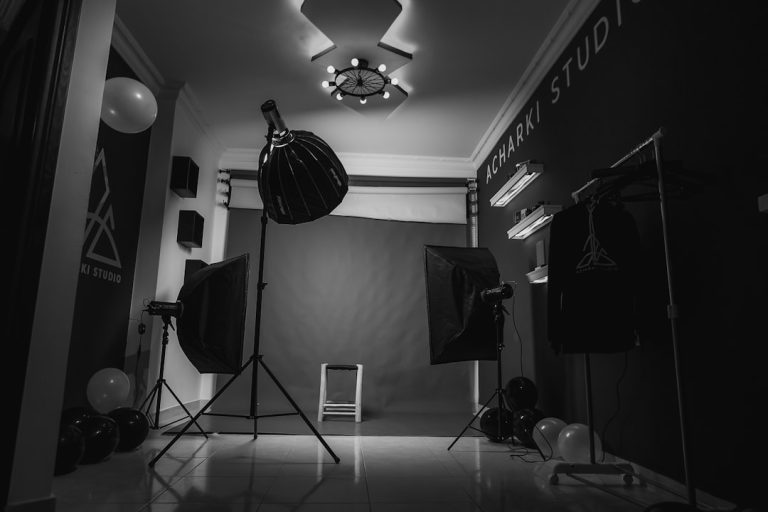
Let’s start with lighting, the secret sauce behind every captivating photo. You might dream of owning the latest ring light or softbox, but fear not! Your DIY journey begins with everyday household items. A simple desk lamp paired with parchment paper can mimic the soft glow of a professional softbox. And who knew that a white shower curtain could double as a light diffuser? Experiment with these unconventional solutions to achieve professional-grade lighting without breaking the bank.
Moving on to the tripod—a steadfast companion to any photographer. Instead of shelling out for an expensive, brand-name model, consider crafting your own using PVC pipes. With a little bit of cutting, assembling, and a dash of ingenuity, you’ll have a sturdy support for your camera that rivals its costly counterparts. Not to mention, customizing your tripod height is a breeze, allowing you to capture that perfect angle.
Now, let’s talk about backdrops. Whether you’re photographing a portrait or a product, a captivating background is essential. While pre-made backdrops can be pricey, creating your own opens a world of possibilities. Visit your local thrift store for vibrant fabrics or unique patterns that resonate with your style. Drape them over a simple frame, and voilà! You have a customizable backdrop that reflects your creative vision.
Don’t forget about the power of reflectors, essential tools for manipulating light and shadows. Instead of investing in a professional set, grab some aluminum foil, a cardboard sheet, and tape. Wrap the foil around the cardboard, and you’ve created a makeshift reflector that adds a professional touch to your lighting setup. It’s simple, effective, and remarkably affordable.
Lenses are another significant investment, but with a little DIY magic, you can create unique effects. Try fashioning a macro lens using an old magnifying glass. By holding it in front of your camera lens, you can capture intricate details and textures that breathe life into your photography. The possibilities are endless when you allow your imagination to run wild.
Lastly, consider embracing digital tools that enhance your creativity without emptying your wallet. Open-source editing software like GIMP or the basic but mighty tools in Canva can elevate your photos to professional standards. These platforms offer powerful features that help you refine your images and express your unique perspective.
In the end, DIY photography equipment is not just about saving money; it’s a journey that nurtures your creativity and resourcefulness. It teaches you to see the potential in everyday objects and challenges you to think outside the box. By crafting your own gear, you’re not only creating photographs but also building a deeper connection with your art. So grab your tools, let your imagination soar, and embark on a budget-friendly adventure that celebrates the essence of photography—creativity without limits.
